The Caleb Vogl Fishing Report

The Caleb Vogl Fishing Report

Thank you for reading this Caleb Vogl Fishing Report. Caleb and I fished together twice this week, all the fishing I did. So the photos have someone other than me in them.

Subscribers without photos- go to https://www.spottedtail.com/blog/, please.

Tuesday

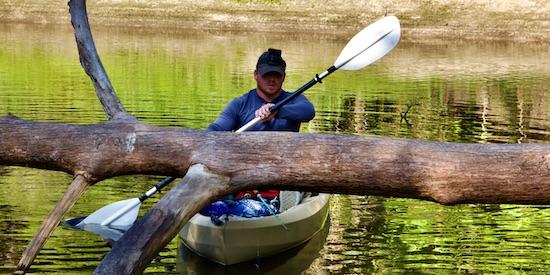
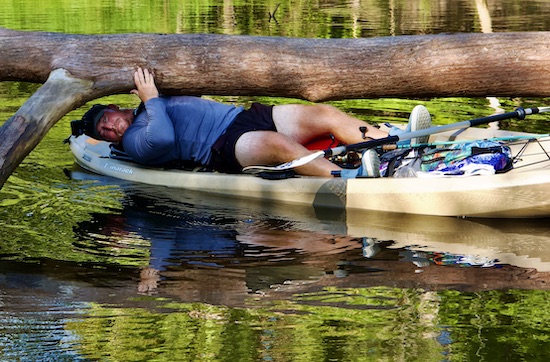
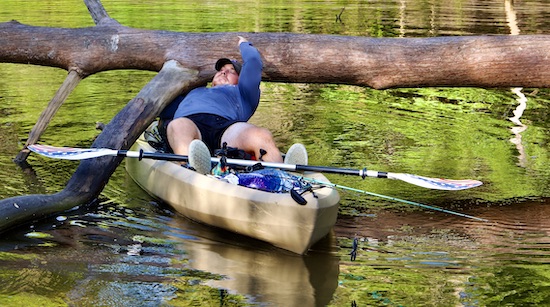
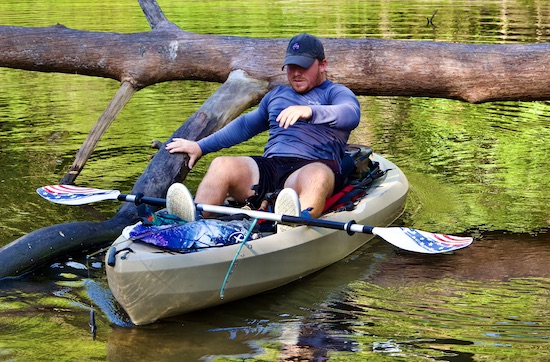
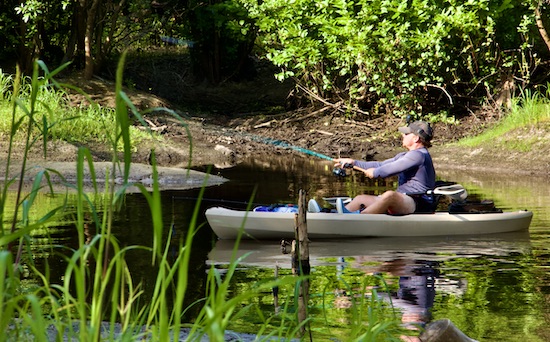
We went down the Econ. The gauge read 1.1 feet- it was almost too low. There was a lot of getting out and walking the boat, and going over, under, or around obstructions. Caleb said, “I thought we were going on a float trip!” That’s what he gets for making assumptions.

I don’t often wish I shot video, but for this I wish I did.


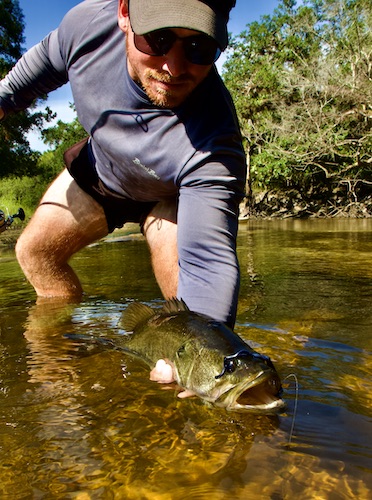
I threw a gurgler for over an hour, with a single, modest bass to show for it. Then I picked up the spin rod and made one cast with a Culprit worm, and got this-

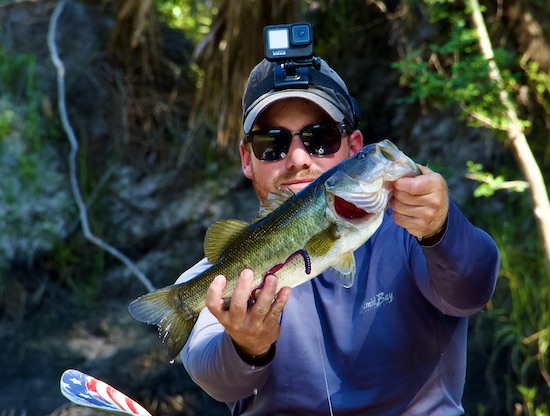
A short time later, Caleb got this, also on a Culprit worm


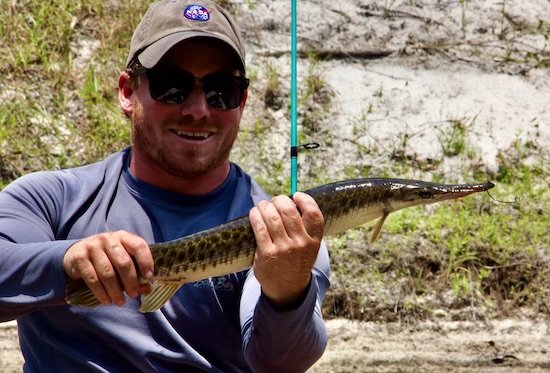
Don’t know how he fooled the spotted gar. It was the first he’d caught, ever.

The fly rod stayed mostly put away for the rest of the trip, which was, in spite of the low water, quite lovely. We both got several bass, and it took all day!

Wednesday

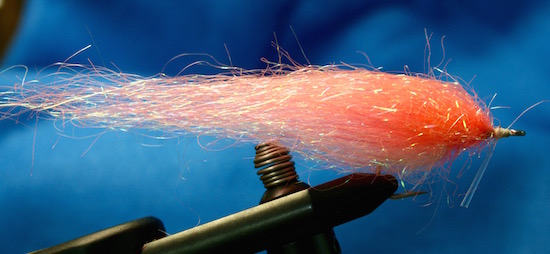
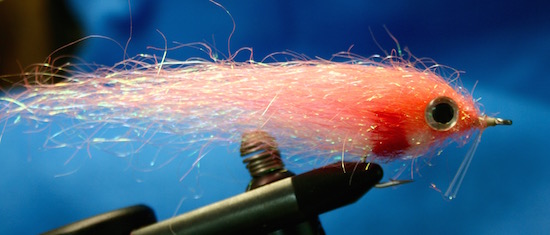
We visited the Banana River Lagoon, starting just after sunrise. Lots of paddling to start, then I got three reds bang-bang-bang in quick succession, the last on an electric chicken-colored electric sushi streamer. It was pretty electric! That fly also produced a jack crevalle, a leatherjack Oligoplites saurus (a fish I dislike handling), and a fat seatrout. I got a few other reds sight-casting with a soft plastic shad. Caleb, a spinfisher, got some snook instead of a leatherjack. Other than that he got all the types of fish I did, making a slam for the lad- snook, trout, reds, with a jack crevalle chaser. Then a hard north wind came up and blew us back to the launch.
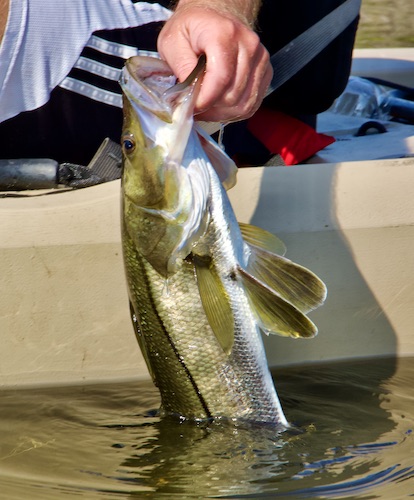
Caleb held the fish for me to photograph, but it jumped out of his hands before I could squeeze the shutter button.

Friday

my bride and I visited Playalinda. No fishing tackle or cameras! There were fishermen on both sides of us, ten rods out altogether. Only a few small fish were caught. A fresh east wind had the waves rolling in, but also kept us cool all morning, which was beautiful.

That’s the Caleb Vogl fishing report. Thanks for reading!

Every day is a blessing. Don’t waste it- Go fishing! Go paddling! Go to the beach! Stay active!

John Kumiski
www.johnkumiski.com
www.spottedtail.com
www.spottedtail.com/blog

All content in this blog, including writing and photos, © John Kumiski 2024. All rights are reserved.

How to Tie the Electric Sushi Fly

How to Tie the Electric Sushi Fly

One year I visited the Fly Fishing Show in Somerset, New Jersey. There, Massachusetts fly tier Mike Martinek showed me how to tie the Electric Sushi fly. It’s a great seatrout pattern in any size, but I use it for a variety of fish species in both fresh- and saltwater. My favorite color combinations include chartreuse-and-white and chartreuse-and-pink. A double-prong, hard monofilament weed guard is helpful for fishing areas with obstructions. The Electric Sushi sinks fairly slowly. The chartreuse color is very bright, so it’s very easy to keep track of the fly’s position while you fish it.

Hook: Gamakatsu SC-15 or equivalent, sizes 4 to 3/0.
Thread: White Danville flat waxed nylon.
Belly: white Awesome Hair. If you can’t find Awesome Hair, I think Hedron’s Wing n Flash and Ice Wing Fiber are almost identical products. The world of synthetic fly tying materials can be confusing.
Back: pink Awesome Hair. Of course the colors are up to the tyer.
Markings (not shown): Black permanent marker.
Eyes: 3-D molded eyes.
Gills: Red permanent marker.

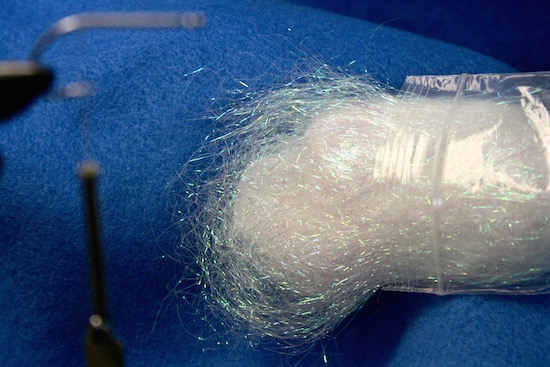
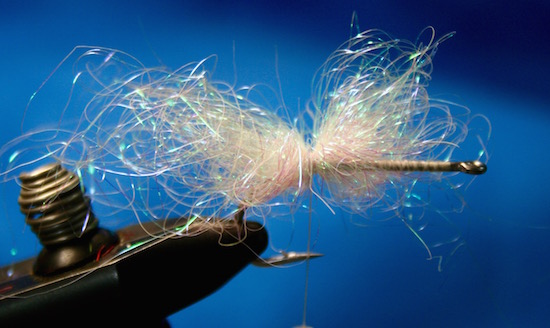
1. Place the hook in the vise and wrap the thread to the bend of the hook. This is what the material looks like as it comes from the bag.

IMG_3796

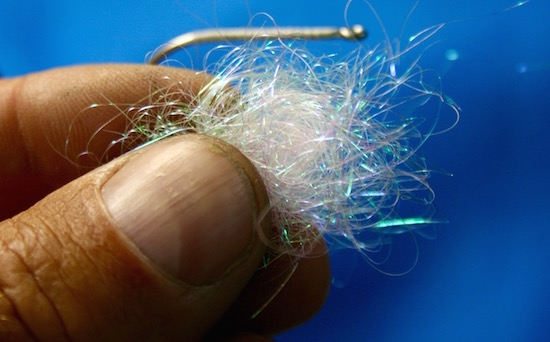
2. Pull enough material out of the bag to make a small ball of it.

IMG_3797

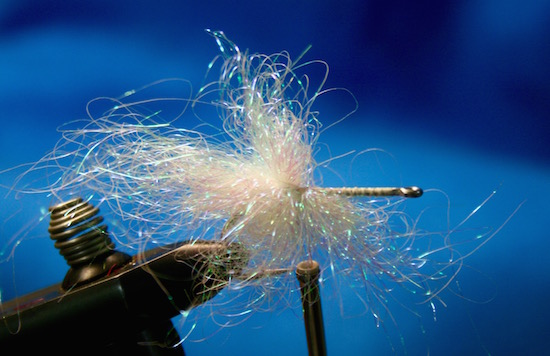
3. Tie that small ball in at the bend of the hook, right across its middle. Pull the material back and wrap it in front with three or four wraps. The truly erudite tier will hit those wraps with a bit of cement.

IMG_3798


4. Make another little ball of material and tie it in under the hook shank, above the point of the hook. Again, wrap it first in the middle, and then in front.


IMG_3799

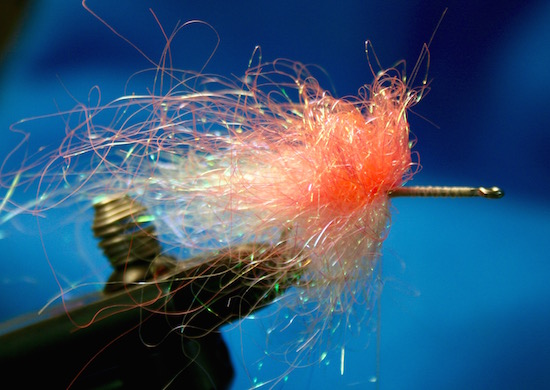
5. If you’re going to use a second color, tie it in now. All remaining clumps of material will be tied on top of the hook shank, one in front of the previous one, with the same technique that we’ve already used. Be sure to leave enough room to finish the head and tie in a weed guard, if desired.

IMG_3800

6. In this photo the tying is finished, the weed guard tied in and the head whip finished. The fly does not yet resemble the finished product.

IMG_3802

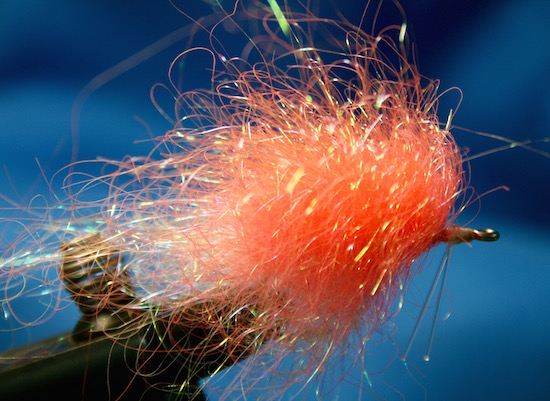
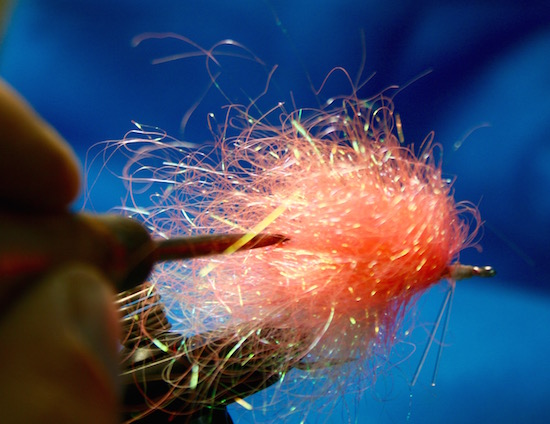
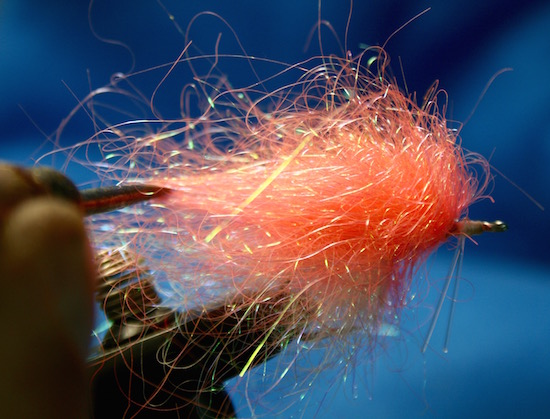
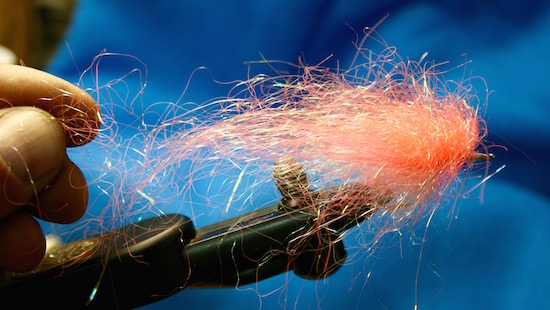
7. Use a bodkin to begin “pulling out” the fibers, always working from front to back.

IMG_3803


IMG_3804


Material will break free. Keep it for the next fly. Don’t throw it away!


IMG_3805

Work the entire fly over, top, bottom, and sides. Get all the snarls out. Use your fingers, perhaps licking them to moisten occasionally, to shape the fly.

IMG_3806

8. Once the fly’s shape is to your liking, use Zap Goo to glue the eyes on. Use a red Sharpie to add the gill spot. If vermiculations are desired (not shown), use a Sharpie to add them. Don’t forget to cement the head!

IMG_3807

This Electric Sushi is ready to catch fish. And now you know how to tie the Electric Sushi fly!

John Kumiski

www.spottedtail.com

http://www.spottedtail.com/blog

www.johnkumiski.com

www.rentafishingbuddy.com

https://www.smashwords.com/profile/view/jkumiski


All content in this blog, including writing and photos, copyright John Kumiski 2015. All rights are reserved.
Share |