[fb_button]
Sienna Van Conversion- Cabinets
This Sienna van conversion- cabinets post is about making and installing cabinets in our Sienna van!
Once again I used Bruce Parks’s design. And again, Bruce Parks’s work is far superior to mine!
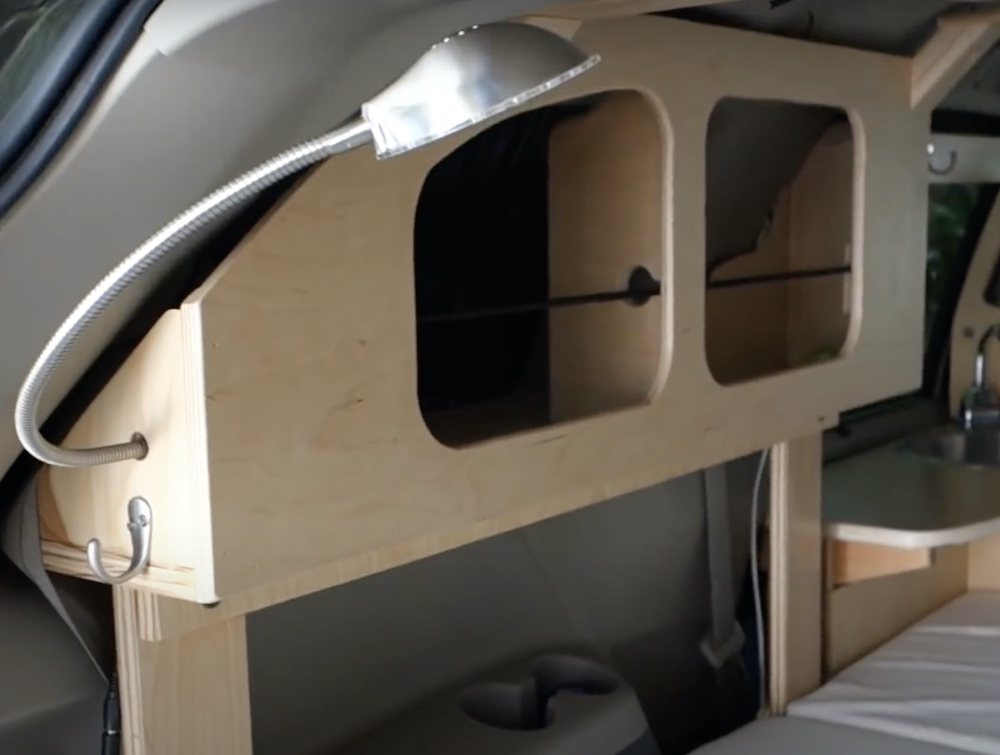
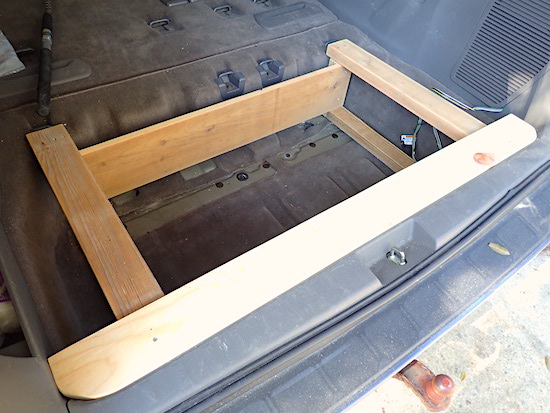
The four cabinet legs were first measured, cut, sanded, and screwed to the bed frame.
Making Templates
Once again I used corrugated cardboard to make templates. There were four of them for one cabinet. There are no flat surfaces where the cabinet was going, so the bottom, each side, and partition all needed templates cut. It was a slow process. Cut, check fit. Cut some more, check fit. For four pieces. Took an entire afternoon.
The diligent reader may recall in my last post I wrote, “although starting with the cardboard was an excellent idea, the cardboard cutout only approximates reality.” That was certainly true here!
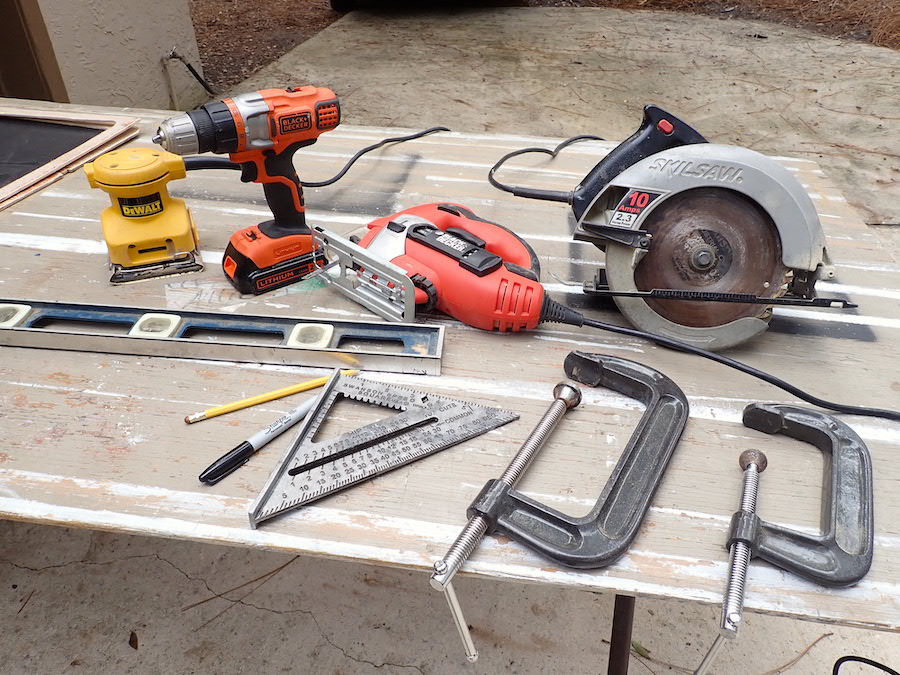
Once satisfied the templates were close, I traced the outline on a piece of 1″ pine board. Next a jig saw was used to cut out the piece I wanted from the rest of the board. Then there was sanding. Then we tried the fit.
Trying the Fit (and my patience)
None of the pieces fit the first time. More cutting, more sanding, another fit. Repeat as needed. There’s a good argument that, even now when the “finished product” is in the van, they don’t fit.

A trip to Home Depot happened, where, sadly, I had to purchase three eight foot 1″x2″ to make the frames for the cabinet fronts, and supports for the partition. It was the first wood I had to buy for the entire project! I also needed 1 1/4″ screws to hold everything together.
Once I had everything I needed assembly started. I attached the two sides and the partition to the bottom, then mitred the corners for the frame for the front. Once that was all done I measured the “windows” to get the sizes of the front panels, which I cut out of polycarbonate. A hole was cut in each polycarbonate panel- got to get your hand in and out of the cabinet!
I tried putting the cabinet on its legs. Didn’t fit. More cutting and sanding. More fitting. More cutting and sanding. Etc. Finally got it on there and used five screws to hold it down. Put the front panels on. Voila! Must say, not bad!
It took an entire day. The second one went faster- the templates were already cut, and all the problem-solving had been done. That one only took a half day. I cannot say it fits any better, however.

They look good (if not completely professional). They are secure. They don’t have huge capacity but they turn wasted space into storage space. If I were to do it over again I absolutely would.

There are odds and ends to finish and a trip to take before the electrical phase starts. We’re not done with the build just yet!
Thanks for reading about our Sienna van conversion- cabinets!
Recent Comments